Restoration of the deck by John
(massive mahogany)
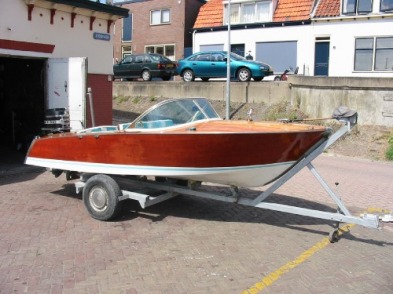
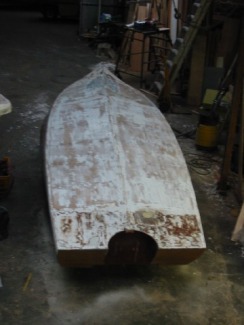
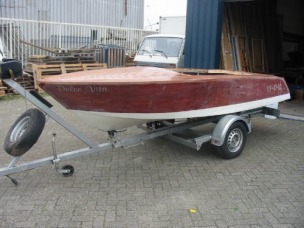
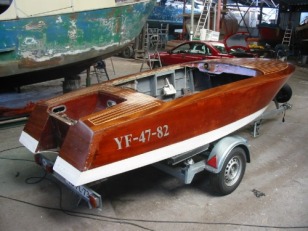
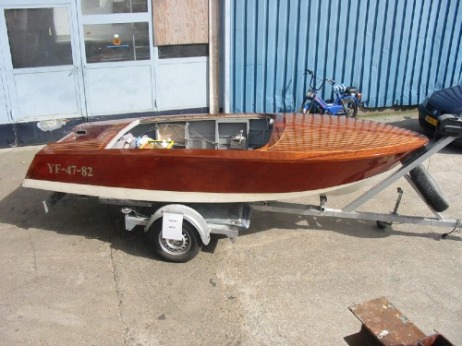
Bought the boat in 2003 in Den Bommel, Holland. I loved the line and it is my first wooden boat. It was a bargain and because I love wood and boats I would invest in the boat.
I just would "make him usable" for holidays but after all I decided to restore the deck which had a plate on the front because of a hole in it. So, after a few years I brought him to a friend who I met on the EWBC and who wanted to restore the deck for me with a little help of myself.
We began the restoration in 2005 after my holidays in Italy where I visited the Arcangeli Centro Nautico and it ended in the first months of 2008 so I could take it with me that year to Italy again.
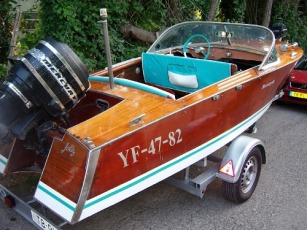
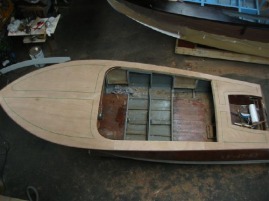
The wood on the deck was colored very light and had some damages.
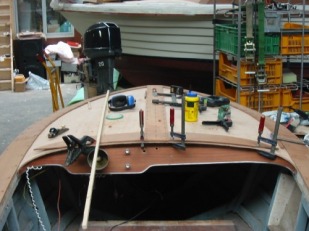
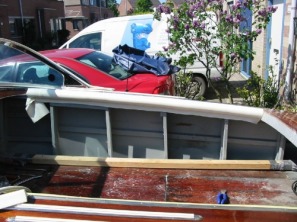
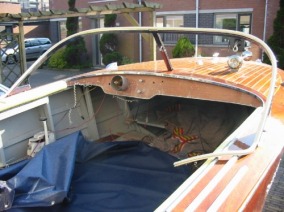
All the chrome parts off, he looks ""naked", time for the restoration.
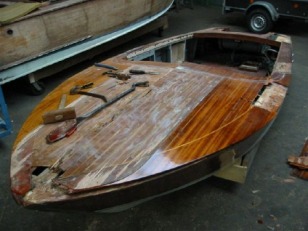
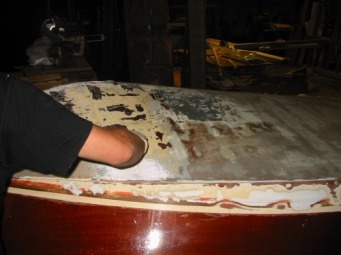
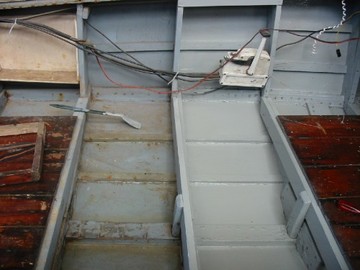
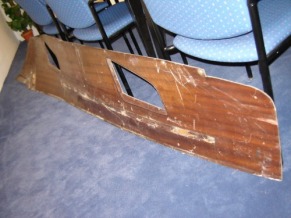
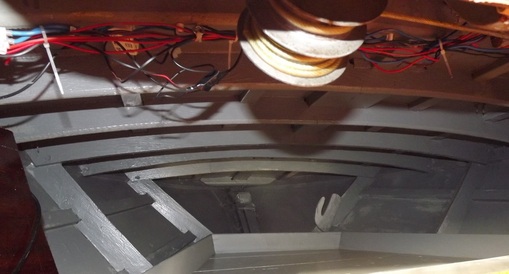
When the plate at the front came off, the hole became visible..... and not just the hole.
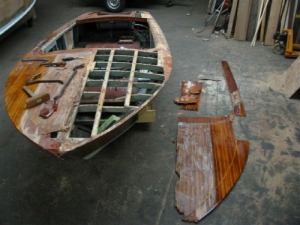
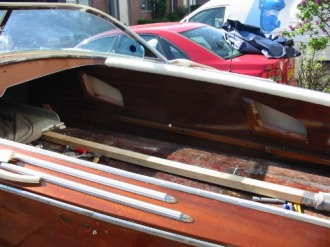
Even some broken frames become visible.
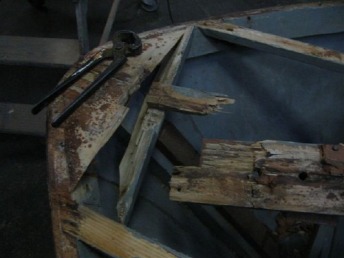
Very rotten pieces wood became visible.
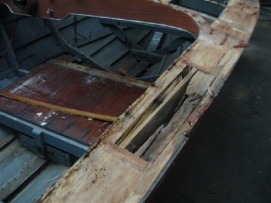
Not just at the front but also at the side.
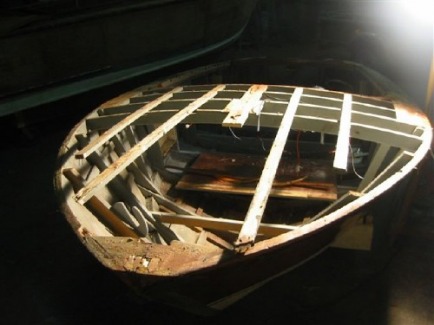
Some frames had to be replaced.
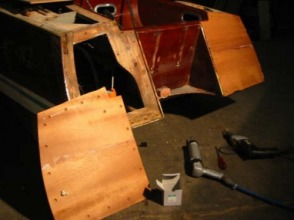
Also the old sterns had to be removed too and replaced by new ones.
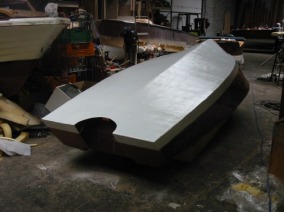
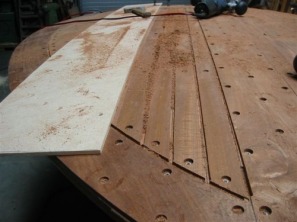
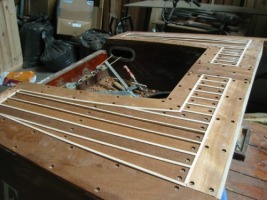
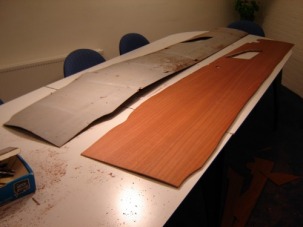
Plywood on the deck on which the massive wooden mahogony is gonna be placed.
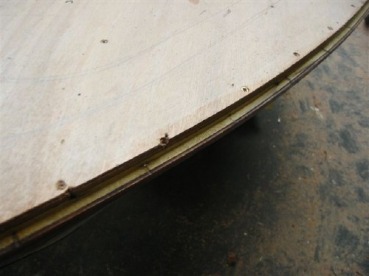
Leaving an opening at the side which can be covered with massive mahogony.
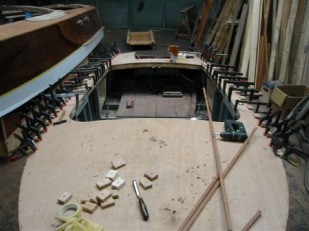
Putting the plate to the frame with special kit.
Putting the massive mahogony on top.
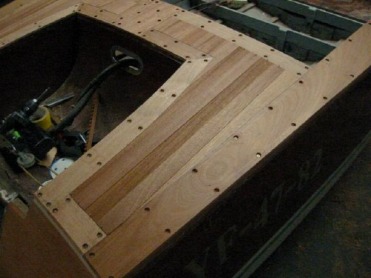
Looks like a puzzle at the back.
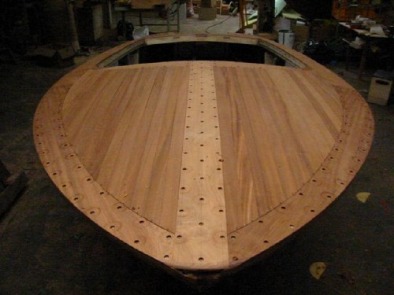
And at the front.
Turn the boat upside down to treat the bottom.
Treat the bottom with pain stripper and lay plastic over it so it would "burn" into the old paint.

Overlay the whole bottom with epoxy mats.
Then put liquid epoxy on it to make it a strong total epoxy bottom.
After the epoxy there go some layers of pantserlack on it to finish it.
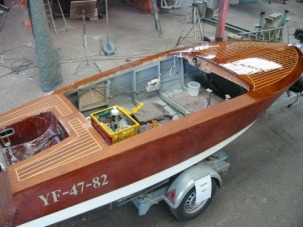
Put the boat back again to finish the deck.
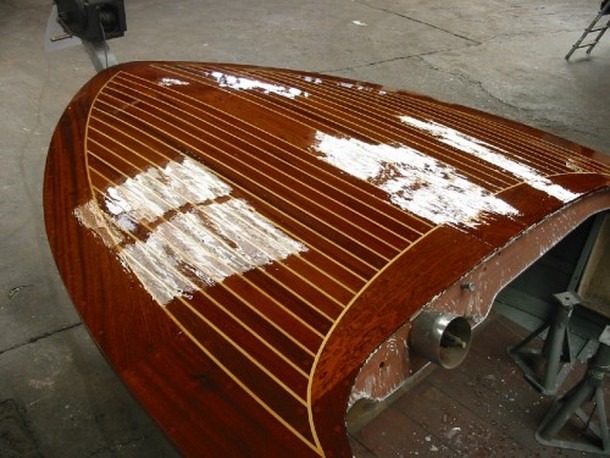
Mill the wood for the licht wooden inlay.

Lay in the thin ramin wooden strips.
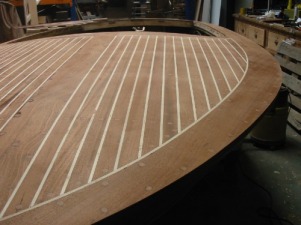
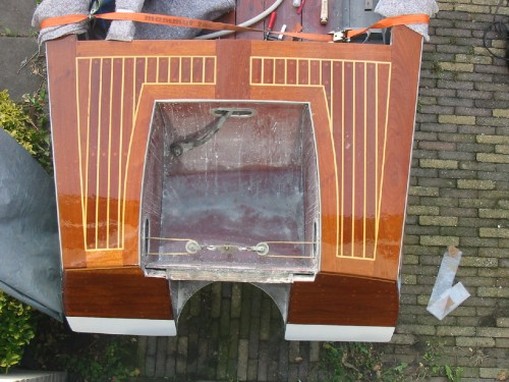
Ready on the back.
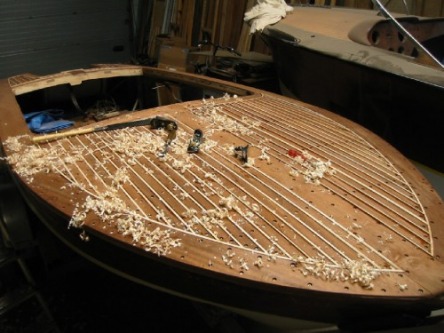
The front ready too, now it has to be planed and sandshaded to make the surface smooth for the varnish.
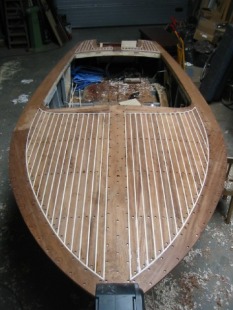
Sanded the whole deck, ready to be varnished.
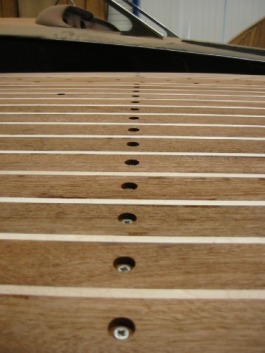
Screws still visible, ready to be filled and become unvisible..... all wood.

All filled and sanded.
Smooth.

The first layer, first of many..
Everytime after the layers sand it totally, also the sides get new layers of varnish.
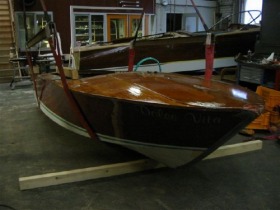
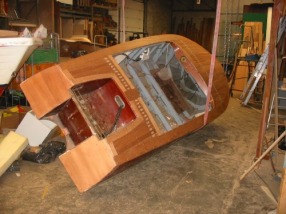
Looks totally different with the varnish on it.
Ready to be finished with the final layers of varnish and put new layers of minium on the wood on the inside.
New layers right, old left.
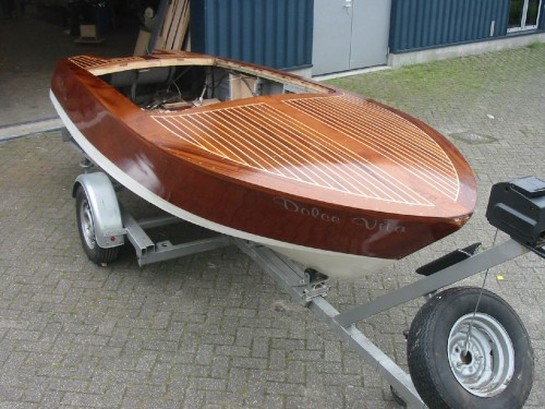
The final layer.
Looks great.
Ready to be build up again with new chrome and so on.
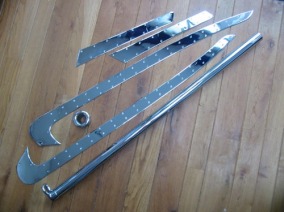
New and rechromed parts
At the back.
Great craftmanship.
.
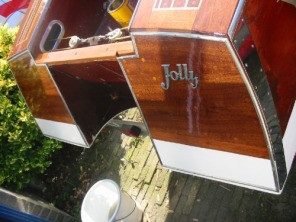
The typename, the chrome.

Skipole in its place.
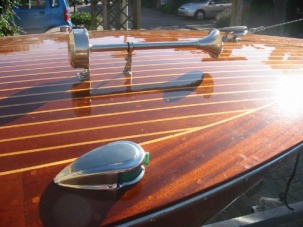
Navigationlights, horn, fasteners.
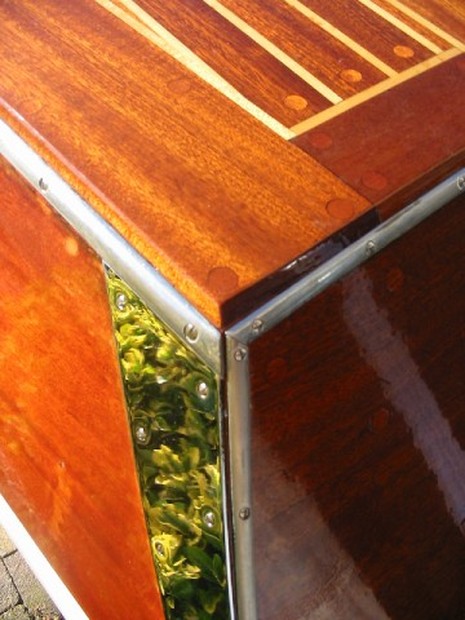
Detail......
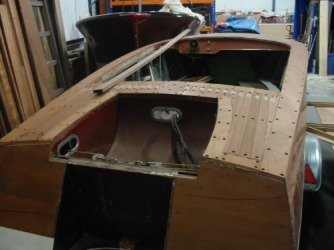
The old inner sidepanels had to be replaced.
Old left, new right.
Ready to be placed.
Looks good.

Ready.
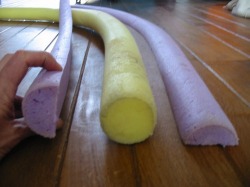
Swimtubes used as filler for the inner side of the leather edge, cut them in half.
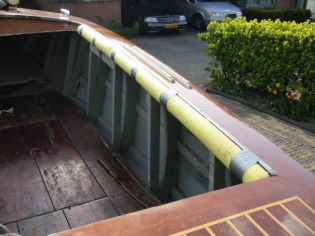
Put it on the sides.
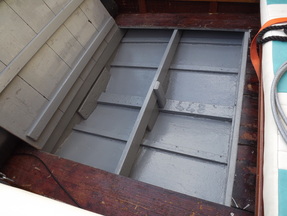
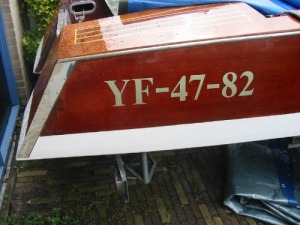
The middle shutter under the front bench.
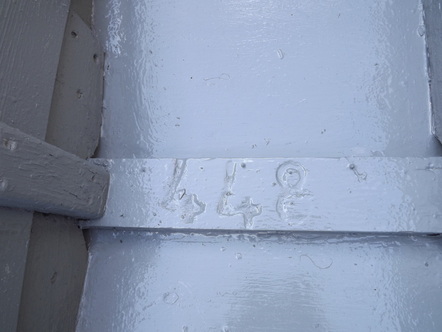
With the hullnumber.
Inside backside.
Inner frontside.
And new leather on it, just like the new rubber strips on the sides.
The rechromed screen back on..
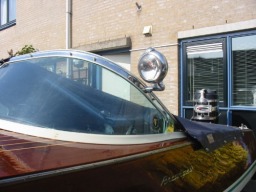
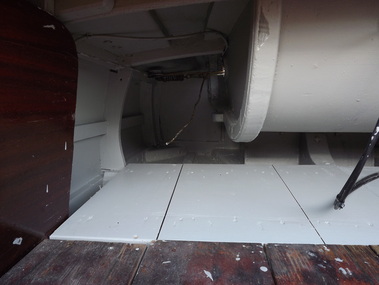
The windows back in after polishing them and also the engine back on.
And dont forget the new searchlight.
And dont forget the new searchlight.
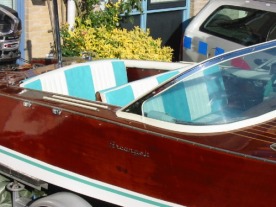
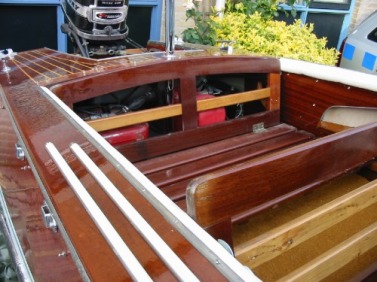
New upholstery on the couches, looks real good.
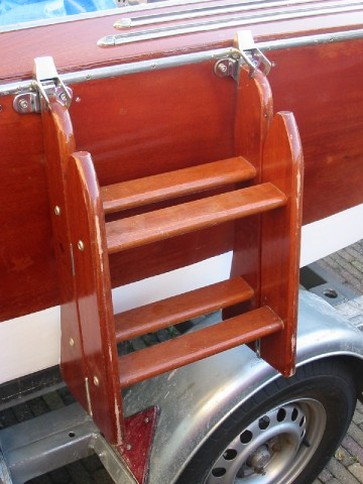
Original ladder.
Searched for it on the internet
and found it on E-bay.
Searched for it on the internet
and found it on E-bay.
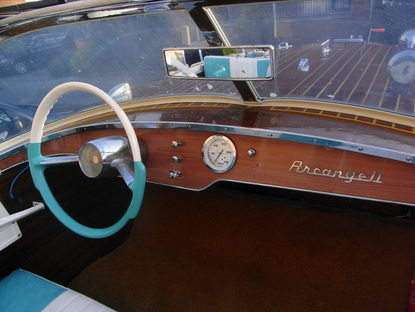
OriginaL steeringwheel and nameplate.

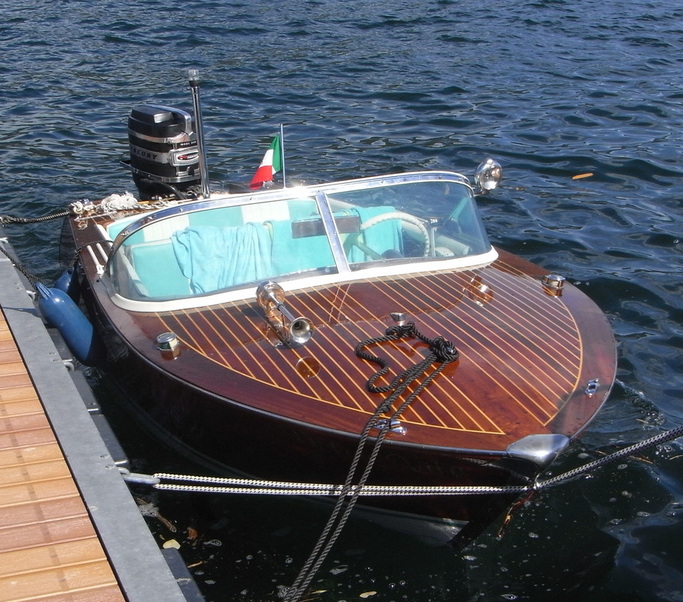
Ready for takeoff.....
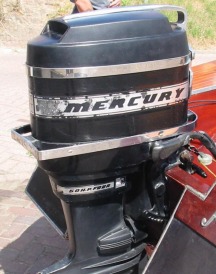
The engine, like it was
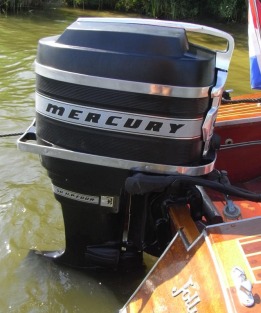
Refurbished