Partly restoration
In october 1996 a boatbuilder in Hamburg, Germany offered me a boat.
It was an Arcangeli Super Jolly Number 144.
The boat was sold without deck hardware but engine, shaft and propeller were inclusive.
It was an Arcangeli Super Jolly Number 144.
The boat was sold without deck hardware but engine, shaft and propeller were inclusive.
The boat was in a realy bad condition -
and me a hopeful and motivated do-it-yourself worker.
Her name was Gerti.
and me a hopeful and motivated do-it-yourself worker.
Her name was Gerti.
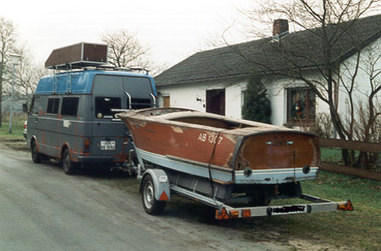
Gerti was taken to a little shed in Alfstedt.
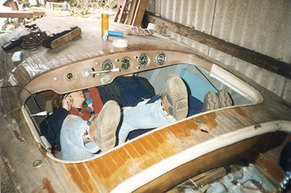
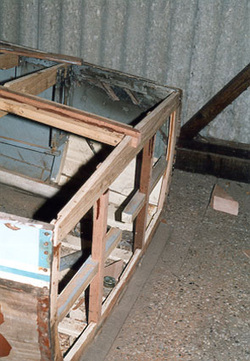
Now we had started to disassemble the boat.
All parts got a number and description. We took pictures of every step.
All parts got a number and description. We took pictures of every step.
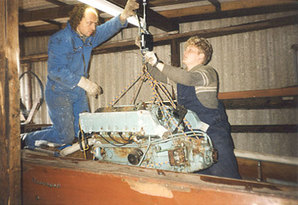
As we got out the engine (Ford interceptor, 185 HP, Y1956)
we found out that the damage was evident.
we found out that the damage was evident.
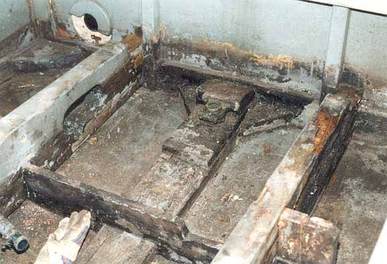
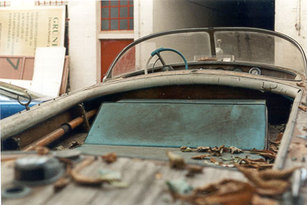
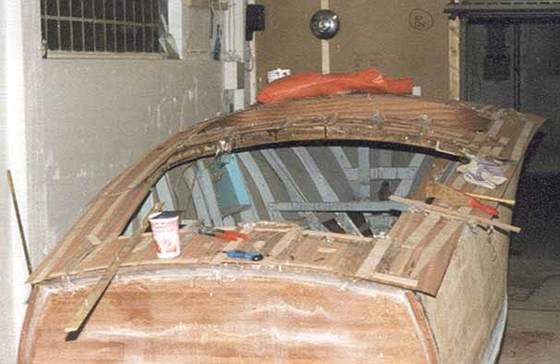
In the stern we found the most damages. 5 ribs and the past third of the larbord engine carrier were totally rot.The underwater plywood was also rot in many places.
Many forgotten boats suffer the same fate. They are lying outside and the boat cover is getting leaky after time. The rain water runs in until the boat bottom is getting leaky too.
Before buying such wooden runabaut you have to take an accurate look on the (inside) bottom.
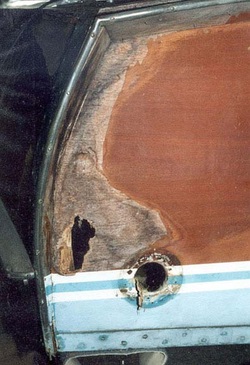
But in Gertis case also on the outside the water made a good job. The rod deck wasn't repaireble anymore and the rump does too. Only the sides had been usable exept a hole on larboard.
But in Gertis case also on the outside the water made a good job. The rod deck wasn't repaireble anymore and the rump does too. Only the sides had been usable exept a hole on larboard.
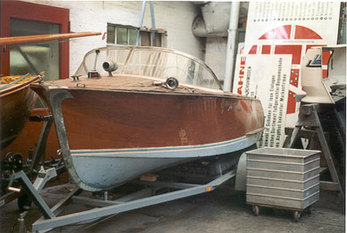
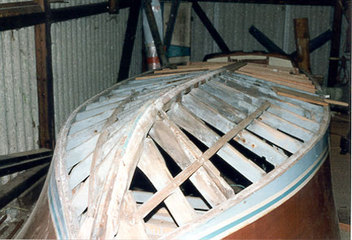
The only chance to find a longterm solution was to built the rotten parts totally new.
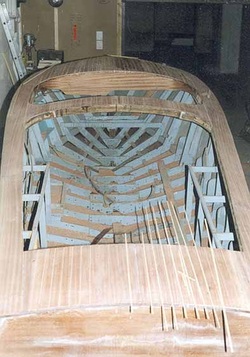
Ribs and other supporting construction had been rebuilt from mahogany.
For the bottom panels and rump we used 8mm marine plywood.
Ribs and other supporting construction had been rebuilt from mahogany.
For the bottom panels and rump we used 8mm marine plywood.
A good experience was the West System epoxyd resine wich can be use also as lime, filler and for lamination. With the pumps it is also very easy to work with.
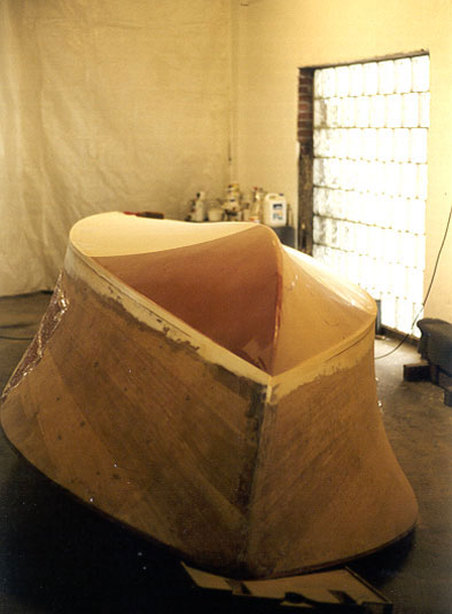
After many back strokes (for example it was impossible to bend the 8 mm plywood on the bow– we had to take two layers 4 mm plywood) we finished the bottom. We covered the wood with glas fiber and mounted brass rails to protect the edges.
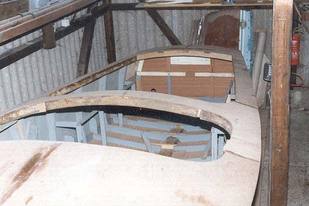
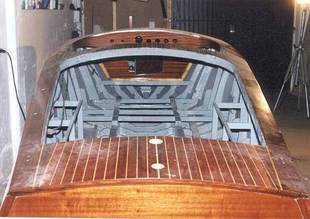
Now we started to rebuilt the deck.
First the carrying construction had to be fixed.
Then we limed 4 mm plywood on it.
First the carrying construction had to be fixed.
Then we limed 4 mm plywood on it.
In the next step we limed 2,5 mm mahoganien veneer on the deck.
To fix the veneer we took sand sacks and cramps.
To fix the veneer we took sand sacks and cramps.
To built the rod deck we shaped 4 and 6 mm slots into the veneer and filled them with pine slats whitch we bought in a minature store
After a lot of griding operations and two coats of epoxyd resine we reached a good result.
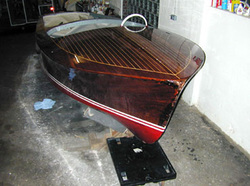
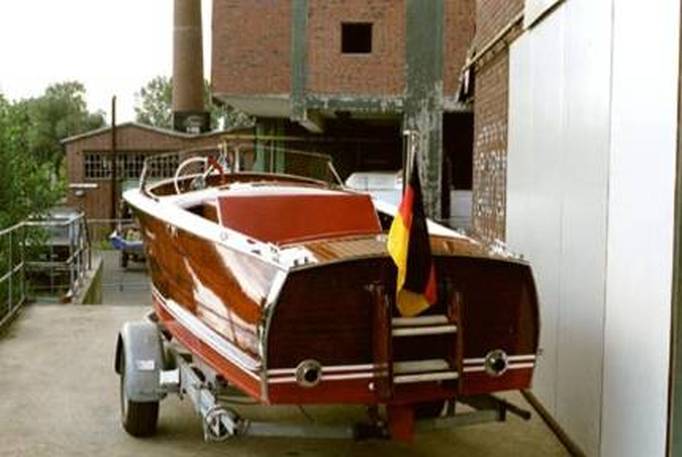
Here you can see the shine of the first varnish coats. The effort was worth wile. Meanwile it's november - 2000
After 13 varnish coats the work is going on fast: The inner (stern)side covers were fixed and the rudder followed after we found the right seals. The exhaust pipe made of stainless steel were planished and mounted. The fuel tank is mounted next.
The installation of the engine (Chrysler V8 275 HP) was a big problem, because it was impossible to get the fitting dampers. After a long investigation we found the damper in the axle of a Peugeot 405 . Now the propeller shaft can be mounted.
The electric and instrument installation was easy. As well the deck hardwere and mouldings.
The seats and pads were covered new by a professionell.
It was impossible for us to find the original windscreen so we built a splitted screen from acrylic glas with stainless holders.
We planned 2 years for the reconstruction of our boat and now more then 4 years are gone. We received the propeller in september 2001 and now we know that al the work was worth wile.